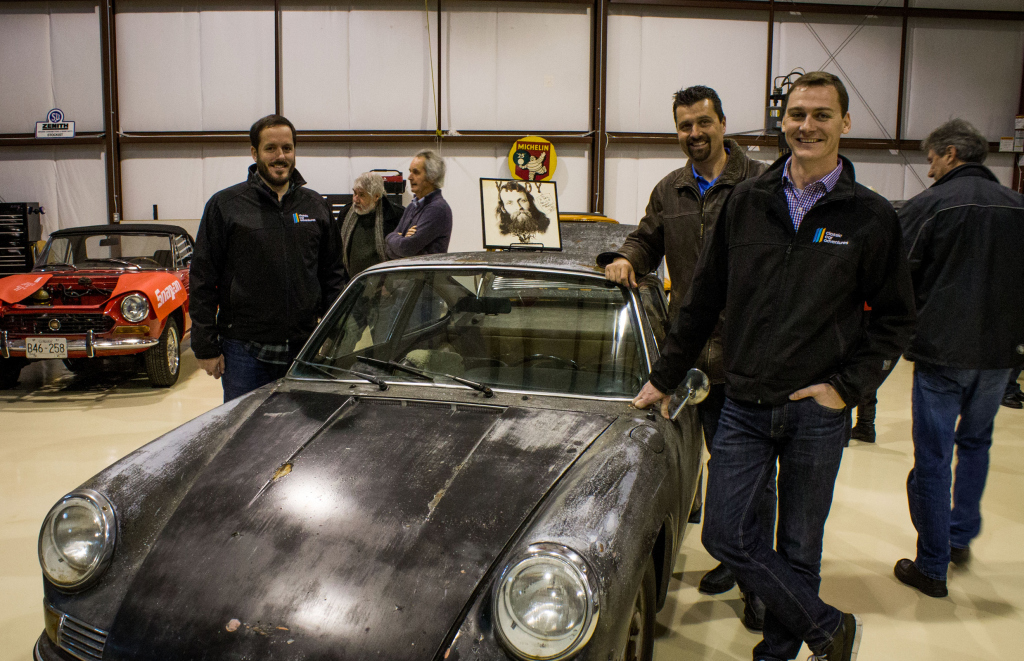
We’ve just enjoyed a fantastic few days in the garage, aka “The CCA workshop”. Dave’s been working on a new ’58 Beetle project, and Warwick has been tackling the plans for his new MK1 Escort rally car. With each project comes certain frustrations. Poorly executed previous-owner maneuvers on the beetle for Dave, and crazy-long shipping times for parts for Warwick. And so, with our own projects a little bit stalled, we started wondering how things are going out there with everyone else’s. Fortunately for us, Robert at RWM&Co has checked in with an update on project Valdy. You may recall our last look at the project was an overview an assessment of the project. We’re happy to report that project Valdy is fully in the tear down stage! Here’s Robert’s latest report on our beloved 912:
Hello friends! We’re just popping our heads above water for a few quick minutes to share a little bit about where we are at with the Rolling Restoration of Valdy, the Porsche 912 that we’ve been entrusted with. As you might remember, last time we outlined the results of our diagnostic testing and assessment on the car. With a benchmark set, we began the process of dismantling the car so we could begin to really sink our teeth into the project.
 As anyone who has ever taken apart anything can attest to, one of the biggest concerns with a restoration project that has been scheduled over an extended period of time is that parts will get misplaced, or vital information will be forgotten when it comes time to re-assemble the car many months (or years) later. We are always careful to document the disassembly process thoroughly, and ensure that any components that are removed from the car are labeled and organized accordingly. Let’s just say we go through a LOT of Ziploc bags and Rubbermaid tubs over here…after all, it’s amazing just how valuable an old, rusted out part becomes when another one cannot easily be found or created. Even eBay has its limits, as anyone who has started (or attempted to complete) a restoration can attest to.
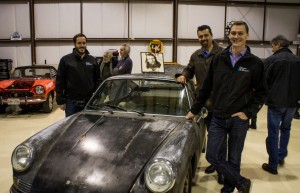
The majority of the disassembly process was handled by our in-house Porsche aficionado & expert, otherwise known as Alex, and “supervised” by my son Charlie who happened to be visiting from the UK while this was happening. I’m so grateful for their continued enthusiasm for the project, and really appreciate their passion for Valdy. I’m also grateful that only one of them is on payroll, and the other agreed to trade his time for Tim Horton’s hot chocolates and vague promises of an early inheritance.
After we had a little paparazzi action in the shop – in other words, taking a million and one pictures of the car, from every angle – we got down to business. Lest you think we are trying to give the Kardashians a run for their money, fear not: as good as our memories are, it can be hard to remember every little detail of every car we have in the shop and photographic evidence is invaluable to preserving our sanity.
 It probably goes without saying, but prior to disassembling a car the battery must be disconnected, along with the hoses and wires connected to the engine. Safety first! The car was then drained of its oil, transmission fluid, brake fluid, and gas, which we safely recycled and disposed of.
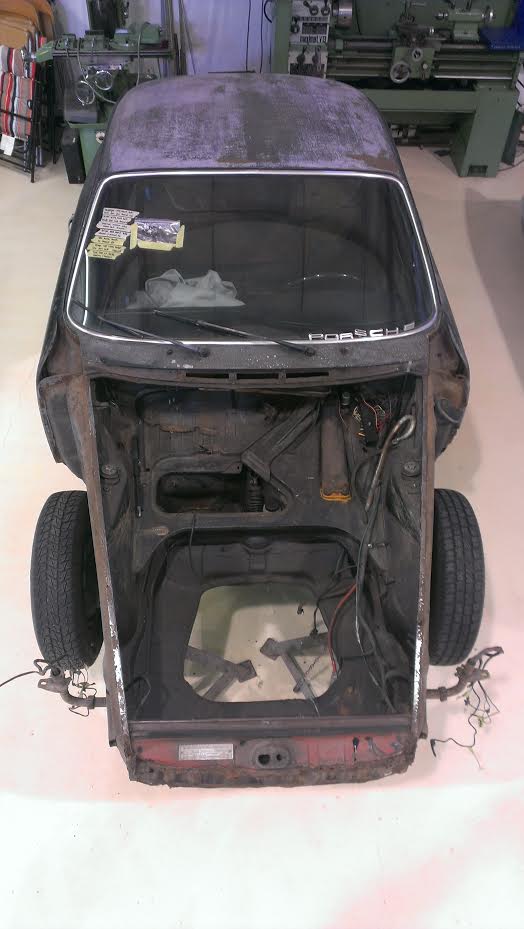
After removing what was left of the exterior trim, we began by removing the larger pieces off the car first; namely, the engine hood, bonnet, and gas tank. We then removed the front and rear bumper. Everything was relatively straightforward, which was wonderful (but slightly unnerving at the same time – is this too good to be true?!). Unless of course you count a minor gas spill that happened while removing the tank…but we won’t talk about that one. A good reminder to double-check that the tank is 110% empty before moving on, right guys?
When it came time to remove the fenders, we were met with a lot of resistance. Apparently, they were glued on with a rubber substance of some sort, and determined to stay on the car. Let’s just say Valdy could have been driven at 100 miles/hr with no bolts attaching the fenders to the car, and they still wouldn’t have fallen off. A little lot of manpower later (and maybe a power tool or two), they were pried off and set aside while someone went for a little visit to their Registered Massage Therapist.
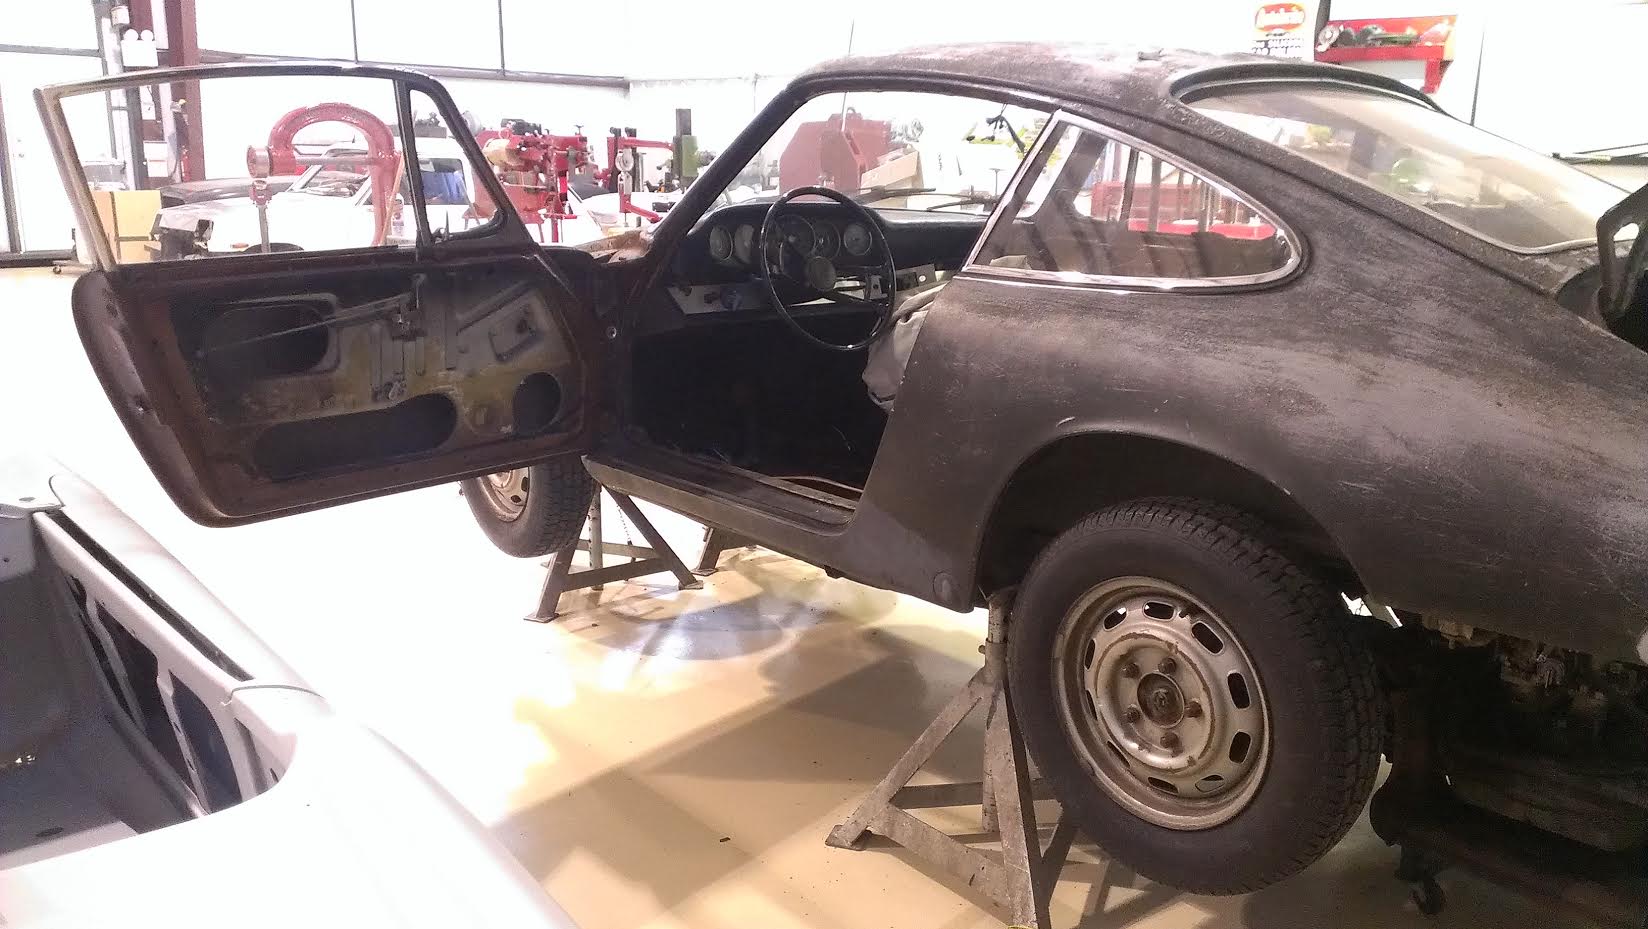
 With all of the major exterior components removed, we got started on the interior. As you’ll remember from our last update, the interior has had a re-trim at some point in time but the car is more than overdue for a facelift. We removed the seats first, and then all of the carpets. This allowed us to get a proper look at the metal floorboards, and gain a more thorough understanding of the overall condition of the frame of the car. As we quickly discovered when we had Valdy up on the hoist for the inspection, the floors were replaced with flat-sheet steel at some point. Leaving the floor at it is is not an option, so it will be redone along the line.
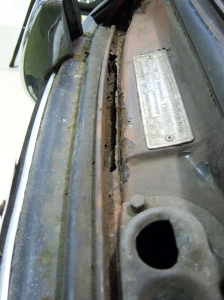
Certain makes of cars are more prone to issues than others, so when we’re disassembling a car we are always keeping an eye out for any problems that weren’t apparent during the initial inspection. Porsche’s are notorious for having buried rust spots in the door pillars and kidneys, which we want to know about now rather than in 6 months. Thankfully, the front wheel wells look really good, with no other surprises or hidden problems so far. Unfortunately, the rockers aren’t as lucky – they have most certainly been covered with bondo at some point, and we are expecting to find rust behind them. Oh the suspense! Luckily, we have repaired more than our fair share of rusted out panels and feel confident that we’ll be able to handle whatever comes our way with this car.
And that’s it! As you can see, disassembling a vehicle properly is time consuming and labour-intensive, but we believe it’s well worth taking the time to be methodical and strategic in order to save time, money, and therapy bills down the road.
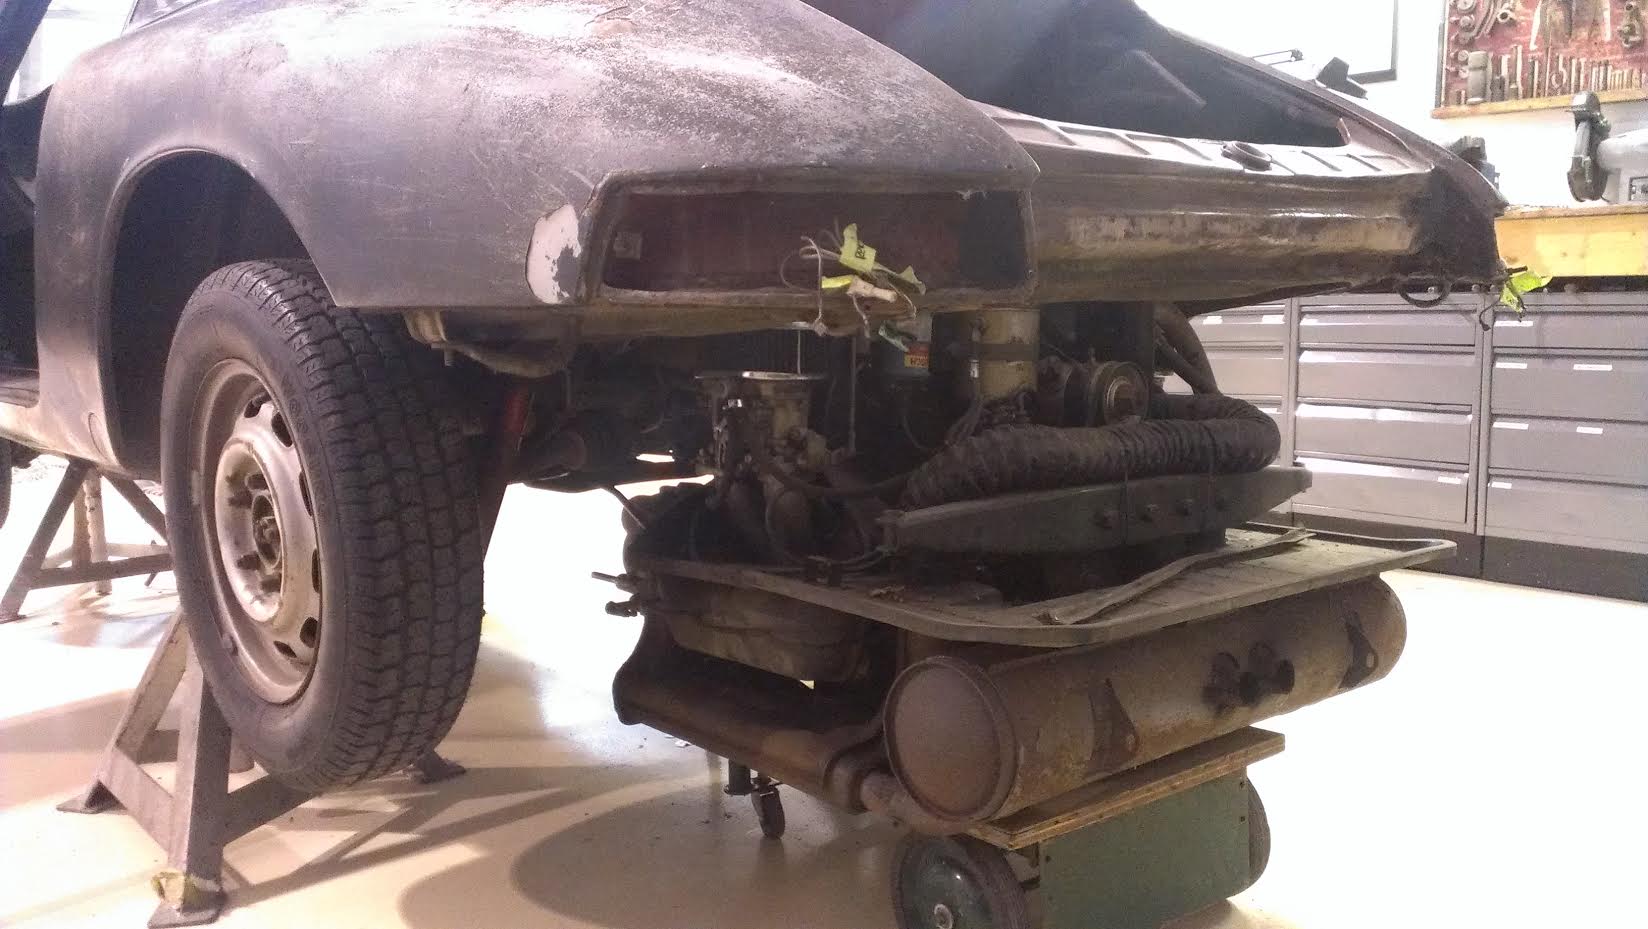
Where do we go from here? In our next instalment, we’ll walk you through what we’re doing to the mechanical side of the car – the engine, transaxle, brake system, clutch, and suspension are all (over) due for tune ups and rebuilds, along with the starter, alternator, and exhaust components. Will the mechanics be what we are expecting, or will there be any hidden surprises? Stay tuned…
 The Exterior Body Shell:
 In a previous life, Valdy has already had a re-trim. Unfortunately, as can be expected with a car that has stood and been neglected for years, the interior is worse for wear with torn seats and musty carpets, and will all need to be replaced unless of course passengers are willing to wear masks when in the car. Good news is nothing is missing, and since we were planning on installing new carpets, seats, and other interior panels, the condition isn’t really important. As you will remember from part 1 of our series, the seat ratchets are not reliable, so those are definitely going to be done!
 Having already taken Valdy for a test drive, I had a pretty good understanding of the general condition of the engine as well as the work that would need to be done in order to get it in top shape. We had established that Valdy drove remarkably well for a car that had barely moved for 8 years, but prior to lifting the car up on the hoist and as part of the inspection process, I did a compression test on the engine. Diagnostics revealed that there was low compression on 2 of the cylinders, so even though the car doesn’t drive that badly now, the engine isn’t operating anywhere near what it is capable of. By rebuilding the engine and transmission as part of Valdy’s makeover, both the power and level of driving enjoyment of the car will be significantly increased.
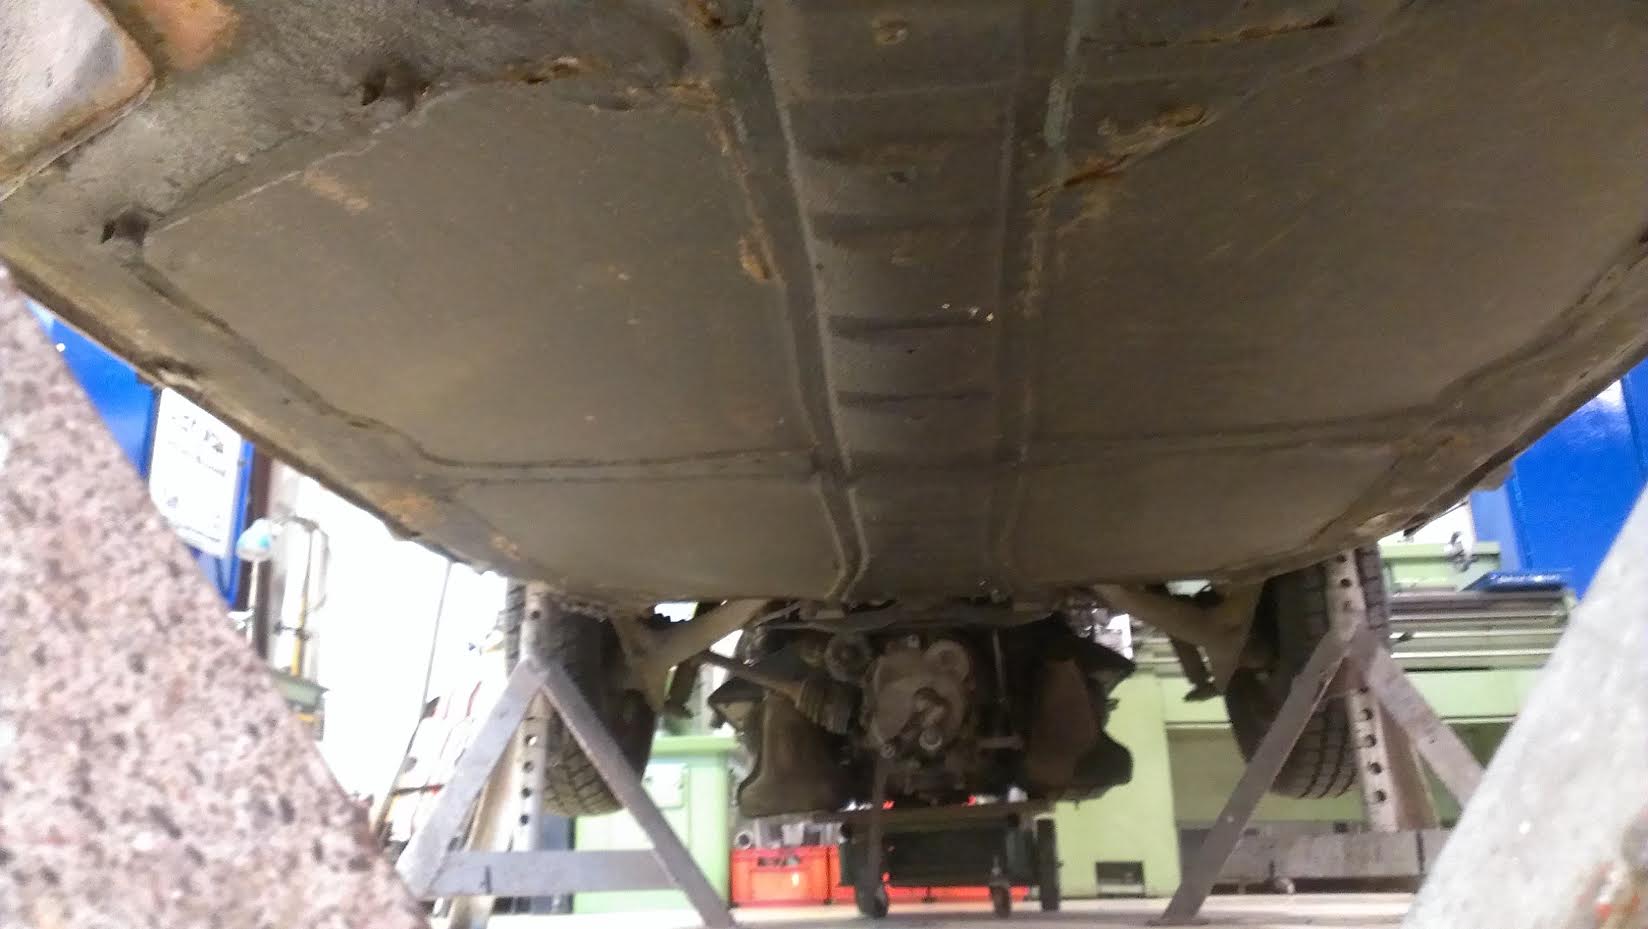
 With the compression test over and done with, I secured Valdy on the hoist and began to lift the car up about 6 ft. so I could walk under and check things out. I was optimistic that I wouldn’t have too many unpleasant surprises when I started snooping around with my trusty flashlight – after all, how bad could it be? – But experience has taught me to never be overconfident. Getting under a car can be a bit of a wildcard. Sometimes, the cars that look the best on the outside are a complete mess underneath, and sometimes those that look worse for wear aren’t in that bad of shape on the underside. Besides, just when you think the car is in great condition underneath, you can find yourself with a concussion from a rusty exhaust pipe that chose that exact moment to fall off and hit you on the way down. Thankfully, walking under Valdy did not result in an ER visit or a tetanus shot. Valdy for the win!
 My inspection also revealed some not-so-great news: it appears that at some point in time, a well-meaning individual or company thought they were doing Valdy a favour by repairing the floor with flat sheet steel. Unfortunately, the end result is less than desirable and not structurally sound so we are going to cut the floors out and put new ones in. Granted, it wasn’t so bad that the floor boards fell out while I was driving the car and had to Flintstone it all the way back to my shop (oh what an adventure THAT would have been!), but the standard is nowhere near acceptable.